How To Make A Spring Bonnet
Our top creative craft blogger Captain Cookie has returned with a great activity to celebrate the start of spring. Read on and learn how you can create some super spring bonnets! Oh! Spring has nearly Sprung! Every morning my 4-year-old daughter looks outside the window to see if we can finally say spring has arrived! But winter is giving up a fight and still our wellies and raincoats are worn as we go outside to enjoy Mother Nature. With Easter only a few weeks away I though we would add a bloom of colour to our lives with a take on spring bonnets.
Materials Required:
- Cardboard box
- Glue stick
- Scissors
- Cup Cake Cases
- Glitter
- Crepe paper
- Curling ribbon
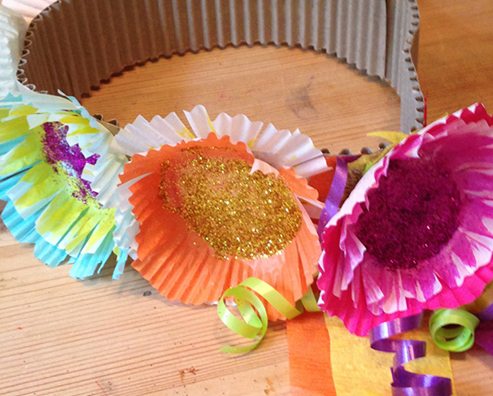
1) Cut the edges of the cup cake cases to look like the petals of flowers. Some can be feathered like carnations and other scalloped to look like daffodils. You can layer up different colours or paint white cases to give dark insides to lighter outside petals. Glue the centre of the flowers and sprinkle with glitter.
2) Cut 5cm wide x 60cm long piece of cardboard for the headband (can be joined with tape to make long enough). Cut crepe paper streamers into 15cm lengths and the same with curling ribbon and glue onto the side of the headband to fall over the ear.
3) Glue the cupcake cases onto the headband; you can add other Easter effects such as spring chicks and rabbits, which you can find in local pound shops.
4) Ta Da you have a wonderful explosion of colour to encourage spring on its way.
5) You've now got your very headband to celebrate spring in style!


