Blog
10 Tips for a Family Digital Detox
Do you feel the need to get away from technology? You're not alone. Most of us rely so much on technology to do our everyday activities, including listening to music,...
10 Tips for a Family Digital Detox
Do you feel the need to get away from technology? You're not alone. Most of us rely so much on technology to do our everyday activities, including listening to music,...
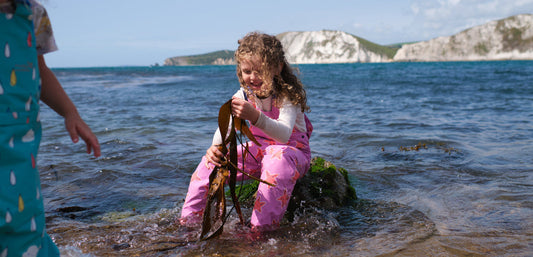
10 Spring Outdoor Activities
With Spring in full swing, now is the perfect time to start thinking about fun outdoor activities to enjoy as a family. We’ve rounded up our favourite spring family activities...
10 Spring Outdoor Activities
With Spring in full swing, now is the perfect time to start thinking about fun outdoor activities to enjoy as a family. We’ve rounded up our favourite spring family activities...
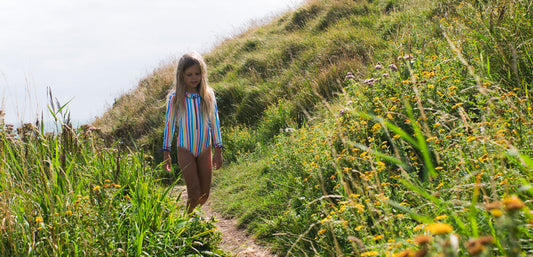
8 Reasons to Walk to School
Physical activity is a brilliant way to start your morning. Walking to school is both fun and beneficial for the whole family. It's a fantastic way for you and your...
8 Reasons to Walk to School
Physical activity is a brilliant way to start your morning. Walking to school is both fun and beneficial for the whole family. It's a fantastic way for you and your...

Books Which Encourage Outdoor Play
May 5th-11th sees the return of Children’s book week, the annual celebration of books for children of all ages. Reading is the best way to increase self-esteem in children, build...
Books Which Encourage Outdoor Play
May 5th-11th sees the return of Children’s book week, the annual celebration of books for children of all ages. Reading is the best way to increase self-esteem in children, build...

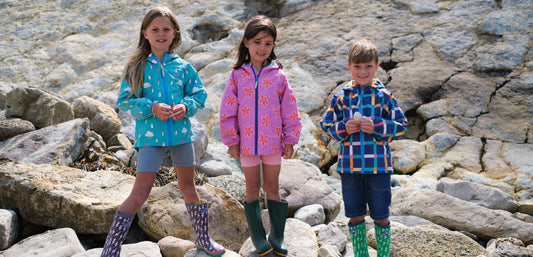
How to Protect Your Children from the Sun
Getting plenty of outdoor time, and along with it some vitamin D, is super important for your little explorers, but exposure to sun can be damaging to their skin. Children’s...
How to Protect Your Children from the Sun
Getting plenty of outdoor time, and along with it some vitamin D, is super important for your little explorers, but exposure to sun can be damaging to their skin. Children’s...
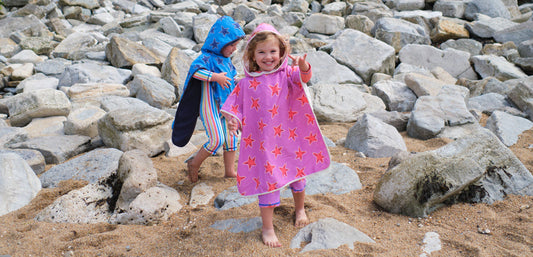
20 Customer Reviews We’re Proud Of
We love getting feedback from our wonderful customers! There is nothing better than hearing from you and reading your 5-star reviews! We want our products to encourage your little adventurers...
20 Customer Reviews We’re Proud Of
We love getting feedback from our wonderful customers! There is nothing better than hearing from you and reading your 5-star reviews! We want our products to encourage your little adventurers...